
How to Thaw Frozen Pipes Safely in a Minnesota Home
Key Takeaways
- Burst pressure builds at sustained temps below 20 F, not just at 32 F. The Twin Cities averages 22 days per year below zero.
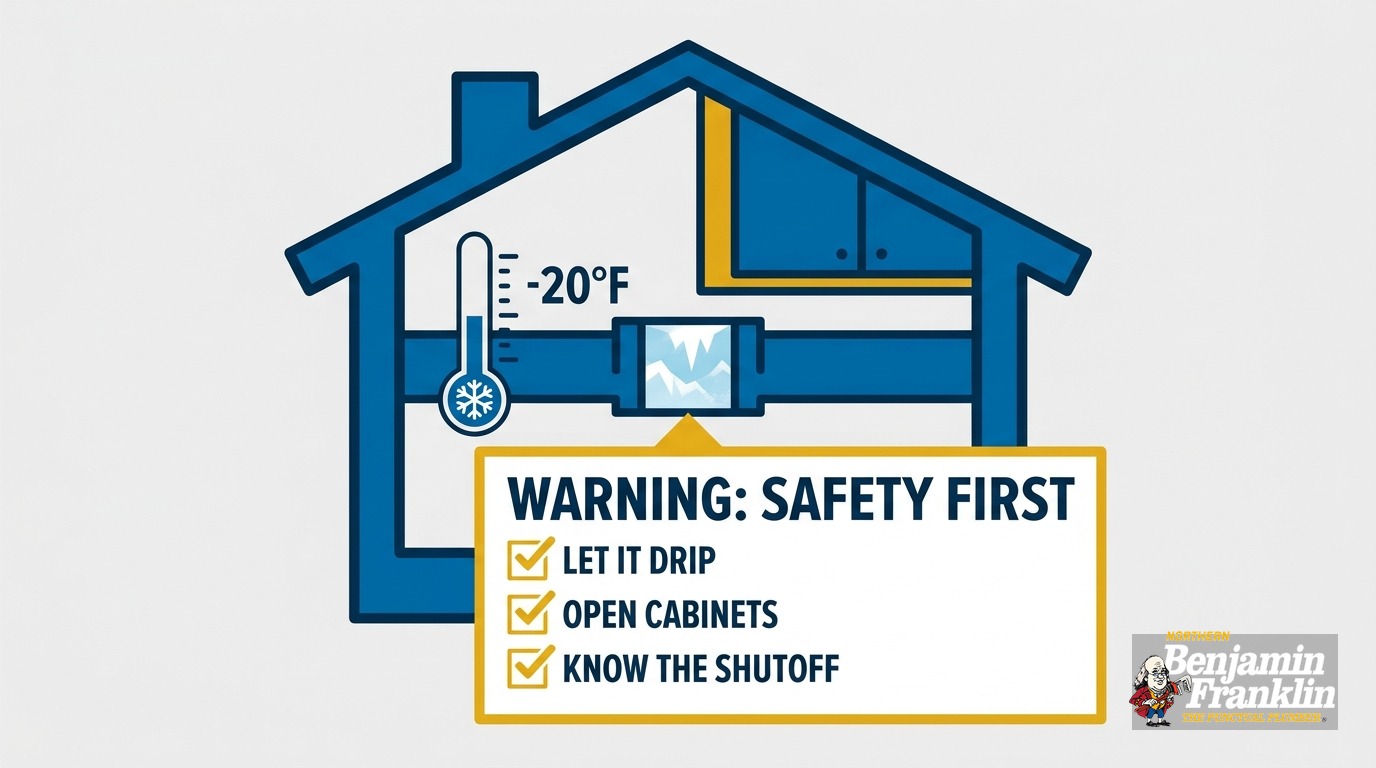
- Open the affected faucet before you start thawing. Keep it open the entire time. Running water - even a trickle - actively helps melt ice inside the pipe.
- Work from the faucet end back toward the frozen section. Melted water needs somewhere to go.
- Use an electric hair dryer or heating pad. Never use a torch, propane heater, or heat gun on plastic pipe.
- Copper and steel can handle direct hair dryer heat. PVC, CPVC, and PEX need low, gentle warmth only.
- An accessible 1/2-inch copper section typically takes 20 to 30 minutes to thaw. A wall-buried pipe can take several hours.
- If the frozen section runs inside a wall you cannot open, stop and call a plumber.
- When you file a burst pipe insurance claim, use the phrase “water damage from a burst frozen pipe.” Never say “flood damage.” That word can trigger a coverage exclusion.
- Know where your main water shutoff is before you need it. A burst pipe can release 100 or more gallons per minute.
How do you know a pipe is actually frozen?
The clearest sign is no water at a faucet - or a thin trickle - after overnight temperatures stayed below freezing. Pipes on exterior walls, in unheated crawlspaces, under garage sinks, and in attic runs are the highest-risk spots. Frost on a visible pipe surface is a definitive sign.
You may also notice:
- No flow at one specific faucet while others in the house work normally (a single supply line is frozen)
- Unusual silence where you normally hear water move when a faucet opens elsewhere in the home
- A visible bulge, crack, or split on an exposed pipe, which means the pipe has already burst
If you find a crack or split, do not attempt to thaw the pipe. Close your main water shutoff immediately and skip to the burst pipe section below.
The highest-risk window in the Twin Cities is overnight during a hard cold snap. Minneapolis’s median home age is approximately 78 years, meaning most homes in the metro were built around 1946 - well before modern insulation standards. Pipes in those homes often run through exterior walls and crawlspaces with inadequate insulation. If you live in an older home and temperatures have been below zero for two nights in a row, check the faucets on your exterior walls now.
What temperature actually causes pipes to burst?
Pipes can begin to freeze at 32 F, but the burst pressure that destroys them builds at sustained temperatures below 20 F. The ice does not break the pipe directly. It expands, traps water, and compresses pressure between the blockage and the closed faucet until the pipe wall fails.
That 20 F threshold is the critical number for Minnesota homeowners. The Twin Cities averages 22 days per year below 0 F based on 1991-2020 NOAA climate normals. Firstcallrestoration.com notes that sustained temperatures below 20 F are the consistent driver of frozen pipe damage claims in Minnesota. A cold night at 28 F is uncomfortable. A two-day stretch at single digits is when pipes start failing.
Outdoor water mains are protected. In Minneapolis, the frost line runs 60 inches deep, and the Minnesota Plumbing Code under Chapter 4714 requires water service lines buried at least 12 inches below the maximum local frost depth. Main lines at 72 inches or deeper are effectively safe all winter. The danger is interior: supply lines running through exterior walls, crawlspaces, and garages where no heat reaches during a hard freeze.
How to Thaw Frozen Pipes: Step by Step
Before you start, gather what you need: an electric hair dryer, electric heating pads or towels soaked in hot water, and dry towels to catch drips. Do not use anything that produces an open flame. The EPA is direct on this point: “Do not thaw frozen pipes with a torch. Thaw them slowly with warm air from an electric hair dryer.”
Step 1: Open the faucet. Open the faucet the frozen line feeds. Keep it open for the entire process. The American Red Cross recommends keeping the faucet open because running water through the pipe - even a trickle - actively helps melt ice inside. Water in motion transfers heat to the ice and speeds thawing.
Step 2: Find the frozen section. Feel along the accessible pipe from the faucet back toward the wall. The frozen section will feel colder and may have frost or light condensation on the outside. If the pipe disappears into a wall before you locate the frozen spot, see the note below on wall-buried pipes.
Step 3: Start at the faucet end and work back. Apply heat beginning at the section closest to the open faucet. Move back toward the freeze from there. This sequence matters: melted water needs to flow out through the faucet rather than build pressure behind a deeper blockage.
Step 4: Apply heat slowly and steadily. Move the hair dryer back and forth over the pipe. Do not hold the nozzle in one spot. If you use a heating pad, wrap it around the pipe and set it on low. Both methods work. Moving slowly and consistently is more effective than applying more heat in one spot.
Step 5: Inspect the pipe after thawing. Once full water pressure returns, run your hand along the entire section you just treated. Check every joint and fitting. A small drip that looks minor can mean a split has started and the pipe will fail again under full load. If you find any moisture on a section that should be dry, stop using the line and call for a repair before the damage gets worse.
Does your pipe material change how you thaw?
Yes - and this is the step most guides leave out entirely. The material your pipe is made from determines how quickly it absorbs heat and how much heat it can safely handle. Applying the wrong approach to the wrong material can warp or melt the pipe.
Copper conducts heat efficiently and handles direct hair dryer heat without damage. Most Twin Cities homes built before 1980 have copper supply lines. A standard hair dryer on a high setting works well on copper. Thawing is relatively fast compared to other materials.
Galvanized steel and cast iron are common in homes built before 1960. Both materials conduct heat more slowly than copper but hold up fine under a hair dryer. Expect the process to take longer, and work at a steady pace.
PVC and CPVC are thermoplastics. A heat gun - which runs far hotter than a hair dryer - will warp and melt PVC in seconds. Even a hair dryer held too close to a thin CPVC fitting for too long can cause deformation you will not notice until the joint fails under pressure. If your pipes are white or light gray plastic, use a hair dryer on its lowest setting, keep it moving constantly, and never pause in one spot.
PEX is the flexible plastic tubing used in most construction since the 1990s and in many repipes of older Twin Cities homes. PEX has one structural advantage over rigid pipe: it can expand slightly as ice forms inside, making it more resistant to bursting. It still freezes and still needs thawing, but the risk of a catastrophic split is lower. Use low, gentle heat - a hair dryer on its warm setting or towels soaked in hot water. PEX is not rated for prolonged direct heat exposure.
If you are not sure what material your pipes are, default to the gentlest method and work from there.
How Long Does It Take to Thaw Frozen Pipes?
On an accessible 1/2-inch copper section, a hair dryer typically takes 20 to 30 minutes to fully thaw a frozen length. That estimate assumes you can work at close range, the ice block spans one to two feet, and the ambient temperature in the space is above zero.
Several variables extend that time:
- Larger diameter pipe holds more ice and takes proportionally longer
- Plastic pipe absorbs heat more slowly than copper or steel
- A longer frozen section means more linear feet to treat
- A cold ambient space pulls heat away as fast as you apply it - a crawlspace at 5 F fights you the entire time
Wall-buried pipes are in a different category. You cannot apply direct heat to them, so the pipe must rely on warming the cavity around it. Opening cabinet doors under sinks on exterior walls helps. Raising the thermostat and directing a space heater toward the wall can speed things up. Even so, a pipe inside a cold exterior wall can take several hours before it starts flowing.
If you have been applying steady, direct heat to an accessible pipe for 45 minutes and water pressure has not returned, stop. One of three things has happened: the ice block is longer than you can reach, the freeze extends further back into the wall, or the pipe has already cracked. All three situations call for a plumber, not more time with the hair dryer.
When should you stop and call a plumber?
Stop DIY thawing and call a plumber if you cannot reach the frozen section, the pipe shows any visible damage, water pressure does not return after 45 minutes of steady heat on an accessible section, or more than one faucet has no flow at the same time.
Specifically, call immediately if:
- The frozen section runs inside a wall, ceiling, or floor you cannot open
- The pipe shows any visible bulge, crack, discoloration, or split
- Multiple faucets show reduced or no flow simultaneously (more than one line is affected)
- You smell sewage or hear unusual gurgling you do not normally hear (the freeze may involve a drain line)
- The pipe is PVC or CPVC and you are not confident applying heat safely
For wall-buried pipes, a plumber has access to a pipe-thawing machine that passes low-voltage electrical current through the pipe itself. It thaws the pipe from the inside out, bypassing the wall entirely. That tool is not available at a hardware store.
Our team at Northern Benjamin Franklin Plumbing handles burst and frozen pipe repair across the Twin Cities. We are locally owned and operated, which means the plumber we send knows what Minnesota winters do to the pipe configurations common in this metro’s older housing stock. Call us at (763) 296-1844 or book online.
We back every service call with the On-Time Guarantee(R): we arrive in the window we promise, or we pay you $5 for every minute we are late, up to $300. “If there is any delay, it’s you we pay!” When a pipe is frozen, a plumber who actually shows up on time is the only kind that helps.
What do you do if the pipe has already burst?
Close your main water shutoff immediately. A burst pipe can release 100 or more gallons per minute before you get the valve closed. Every second spent looking for the shutoff is more water in your home.
If you have not located your shutoff yet, our guide on finding and testing your main water shutoff valve shows you exactly where to look and how to confirm it actually closes fully before an emergency.
After the shutoff is closed:
- Turn off electricity in any area where water is near outlets, panels, or light fixtures. Call an electrician if you are not certain.
- Open faucets throughout the house to relieve remaining pressure from the lines.
- Document everything before you touch it. Take photos and video of the burst section, the surrounding pipe, and all visible water damage. This documentation protects your insurance claim.
- Call a licensed plumber for the pipe repair and a water damage restoration contractor if the water reached walls, flooring, or structure.
- Call your insurance company - but read the next section first.
How do you file a burst pipe insurance claim in Minnesota?
File the claim as “water damage from a burst frozen pipe.” Never call it flood damage. The Minnesota Department of Commerce specifically warns homeowners that standard homeowners policies exclude flood damage, and using that word when filing your initial claim can trigger a denial even when the loss would otherwise be covered.
This distinction matters because the dollar amounts are significant. Water damage and freezing account for nearly 23% of all homeowners insurance losses nationally, according to the Insurance Information Institute. The average burst pipe claim comes in at $27,000, with the most expensive single claim on record reaching $1.7 million. Carriers pay close attention to how these losses are described.
Under Minn. Stat. 72A.201, your carrier must acknowledge your claim within 10 business days and accept or deny it within 30 business days. If they miss either deadline or deny a valid claim, the statute gives you grounds to challenge the decision in writing.
Document everything before your adjuster arrives:
- Photos and video of the burst section and every area with visible water damage
- The pipe material, approximate location, and proximity to exterior walls or unheated spaces
- The date and time you discovered the problem
- Temperature records for the two or three days leading up to the event (your phone’s weather history is enough)
- Any maintenance you had done: insulation applied, thermostat settings, heat tape installed
Coverage gaps to watch for:
Most policies require the home to be maintained at a minimum temperature when unoccupied. The Red Cross recommends never setting the thermostat below 55 F when leaving for an extended period. If your home dropped below that threshold and a pipe burst, your carrier may invoke a maintenance exclusion. Having a record that you kept the heat on is your protection against that argument.
Mold that develops after a slow freeze-related leak may or may not be covered, depending on when your carrier determines the leak started. Document the discovery date and get that date into your claim narrative from the beginning.
If your adjuster disputes the cause of loss, ask for the denial in writing and review your rights under 72A.201.
One step to take once the pipes are thawed
Once the immediate problem is handled, schedule a look at your pipe insulation - especially on any runs through exterior walls, crawlspaces, and the garage. One freeze is a warning. A second freeze in the same location is a problem that does not go away on its own. Our post on pipe insulation in exterior walls and freeze risk covers the materials and the specific zones to address before temperatures drop again.
For a broader look at what Minnesota winters do to your plumbing system and which warning signs to watch for in December when temperatures start their first serious drop, see our frozen pipe season guide.
When you are ready for a professional assessment - or when a frozen pipe needs a plumber right now - call Northern Benjamin Franklin Plumbing at (763) 296-1844 or book online. We are a locally owned Twin Cities plumbing company. The On-Time Guarantee(R) is behind every service call: we show up in the window we promise, or we pay you for the wait.
Frequently Asked Questions
Can you thaw a frozen pipe with a heat gun? +
How long does it take to thaw frozen pipes? +
What word should you never say when filing a burst pipe insurance claim? +
At what temperature do pipes actually burst? +
Need a technician now?